WebXR Coding-dojo
First steps of WebXR - discovering Aframe and ThreeJS
Documentations
- Courses : https://webxr.ldavid.fr
- WebXR : https://developer.mozilla.org/fr/docs/Web/API/WebXR_Device_API
- Aframe : https://aframe.io/docs/1.7.0/introduction/
- Three.js :
- Docs: https://threejs.org/docs/
- Manual: https://threejs.org/manual/
- Javascript Cheatsheet :
Objectives
- Discover and use WebXR through Aframe
- Use diverse documentations
- Build your first WebXR app
Material
- Ideally a device supporting WebXR (e.g. Meta Quest 3,Pro,3s ; Pico ; Apple Vision Pro ; Snap Spectacles ; Magic Leap 2 ...)
Requirements
- Either nothing if you want to discover only through an online editor (krabbel.dev)
- Either a way to host an https server locally
- I recommand node/npm to install packages like vite
Contact
- Ludovic DAVID - ludovic.david@inria.fr
Step 0 - local development
For those interested by doing the full development locally, you need a way to host an https server. If you don't have one, I recommand node/npm and using vite. If you have already one, then go to step 2.
Open your favorite IDE (I recommand VSCodium, Zed or Webstorm from Jetbrains) and a terminal. Install vite (and a simple ssl plugin) with npm i vite @vitejs/plugin-basic-ssl. Then, you will need a vite.config.js file with the following content :
import { defineConfig } from 'vite';
import basicSsl from '@vitejs/plugin-basic-ssl'

export default defineConfig({
    server: { host: '0.0.0.0' },
    plugins: [ basicSsl() ]
})
vite.config.js - https and listen on all addresses
This configuration use basicSsl to generate self certificates for supporting https. Host 0.0.0.0 simply means that you server will accept incoming connections even from devices outside of you own computer (localhost ).
Configuration is done. Now, you need the content of your WebXR website. Create an index.html file and put the following content.
<!DOCTYPE html>
<html>
  <head>
    <script src="https://aframe.io/releases/1.7.1/aframe.min.js"></script>
  </head>
  <body>
    <a-scene>
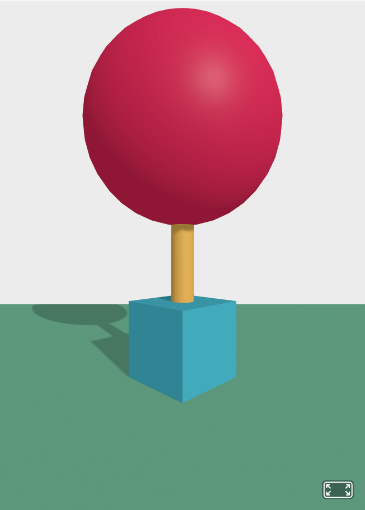
      <a-box position="-1 0.5 -3" rotation="0 45 0" color="#4CC3D9"></a-box>
      <a-sphere position="0 1.25 -5" radius="1.25" color="#EF2D5E"></a-sphere>
      <a-cylinder position="1 0.75 -3" radius="0.5" height="1.5" color="#FFC65D"></a-cylinder>
      <a-plane position="0 0 -4" rotation="-90 0 0" width="4" height="4" color="#7BC8A4"></a-plane>
      <a-sky color="#ECECEC"></a-sky>
    </a-scene>
  </body>
</html>
index.html - default aframe getting started code
Then you can run vite in your console and access your website at the displayed url. Try early to access the url in your "webxr" compatible device, to ensure there is no problem (ensure you're on the same wifi, you will need to accept the bad https certificate, your firewall doesn't block the communication, ...).
During this coding-dojo, you can also create multiple html files (1.html , 2.html , ...) and use the right url to access the version of what you're doing.
Step 1 - online editor
To avoid having to install anything during the project, we will use an online code editor (krabbel.dev) that allows hosting static websites without even having to sign up!
Open https://krabbel.dev/p/cuddly-dragons-obey project.
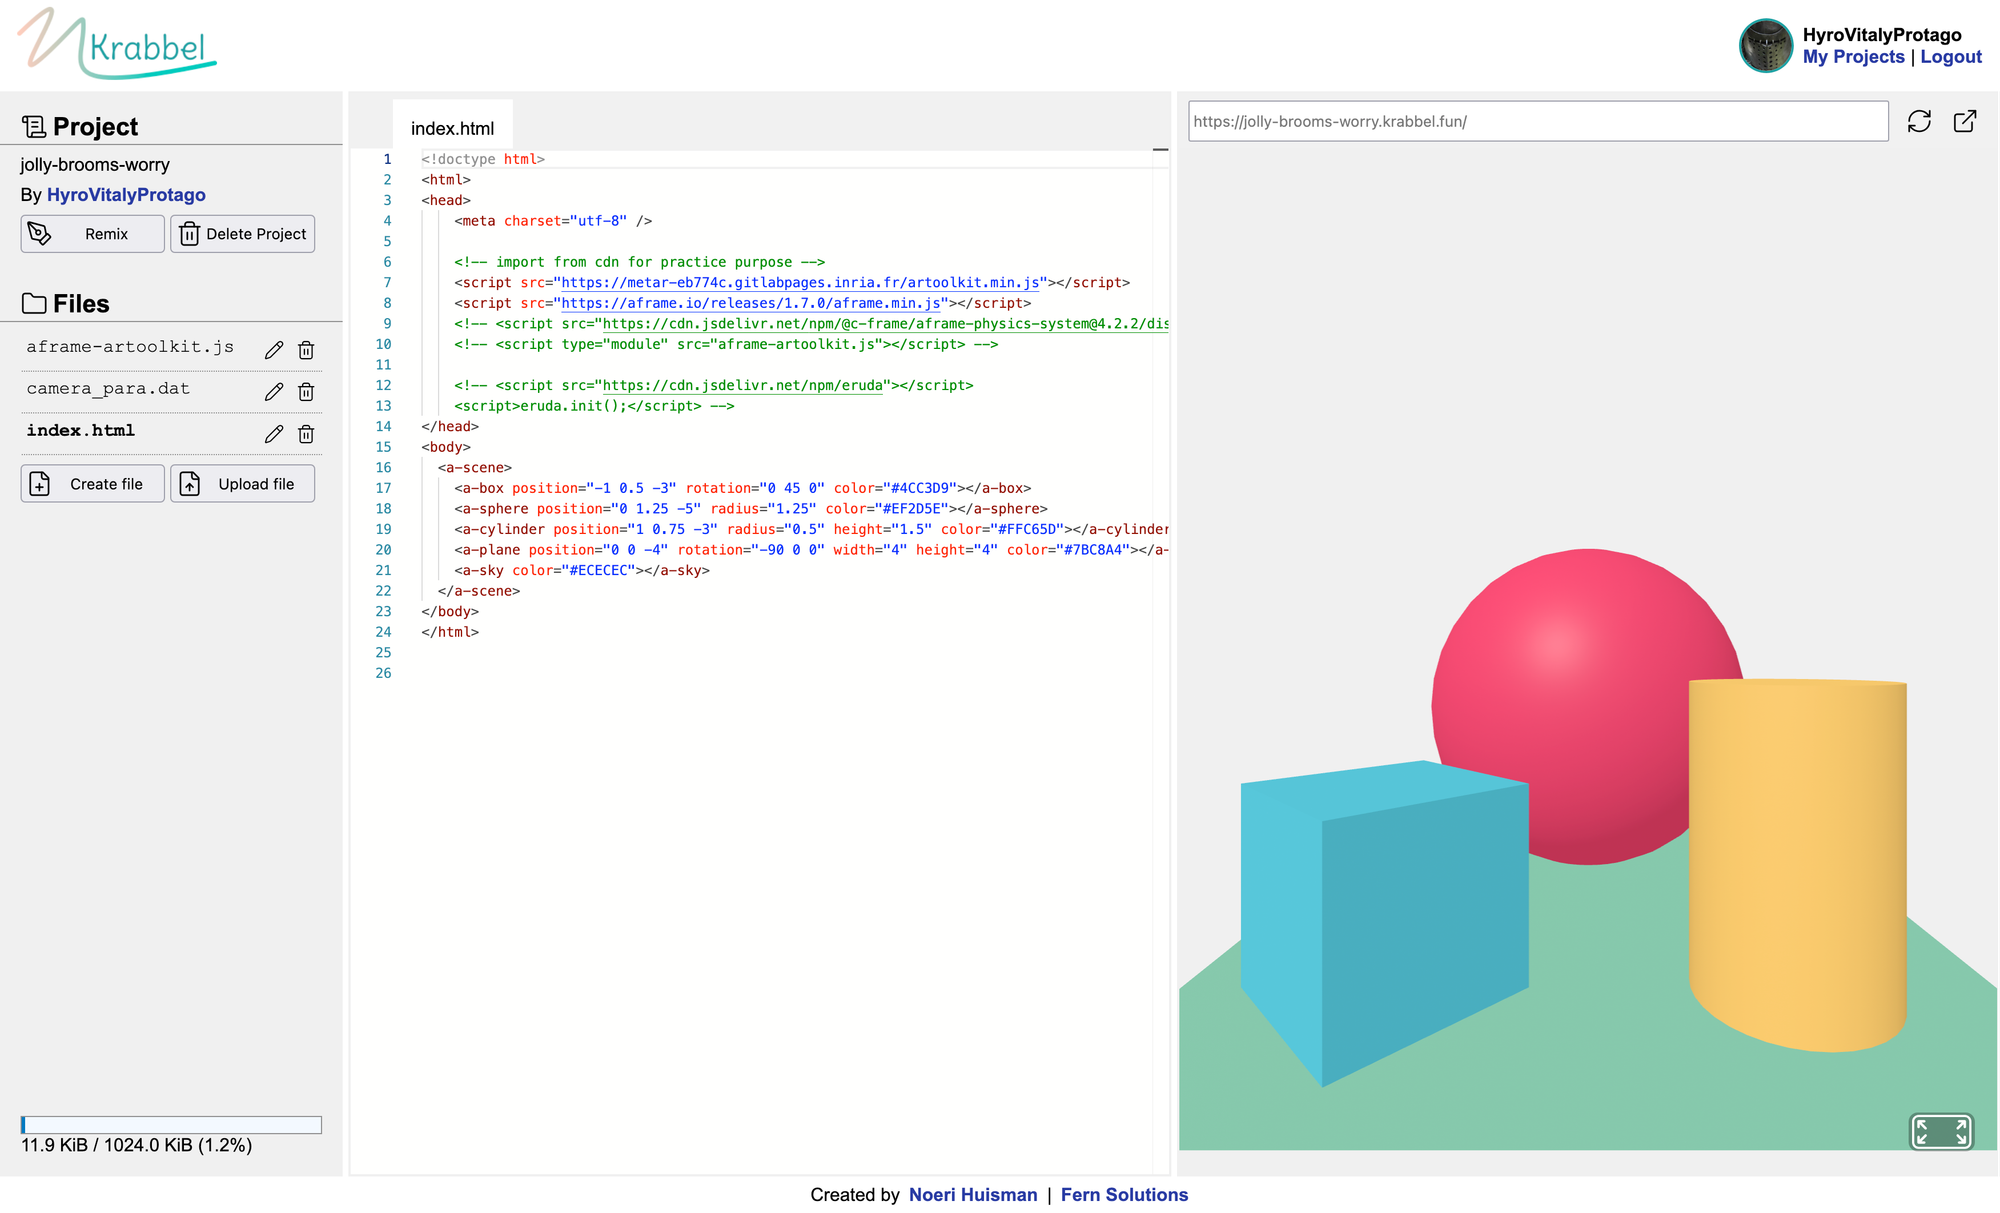
Then click on Remix button to be able to make changes.
Step 2 - getting familiar with Aframe
Check the documentation briefly :


Try to reproduce the following scene :
You can check the documentation for shadows :

It can help you to directly manipulate objects, but remember, it's only an inspector and not an editor, all changes will not be saved if you don't update your html with the right values.
Step 3 - first component
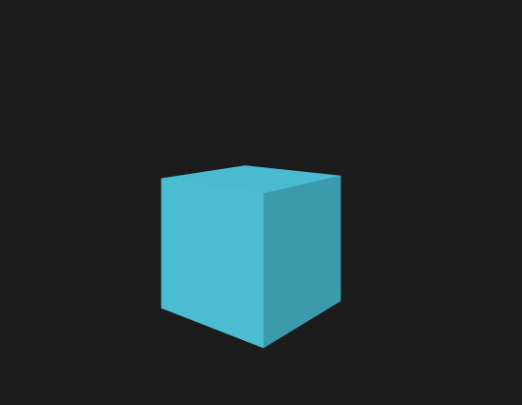
Skim through the documentation on writing a component


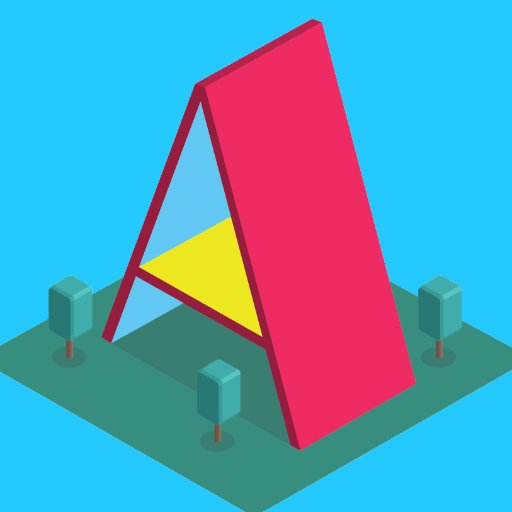
In this exercise, start with an empty scene containing only a colored cube on a #1b1b1b background (https://aframe.io/docs/1.7.0/components/background.html#main).
Code your first component that rotates the object around the y-axis. To do this, start by adding a <script> in your html to define the component.
<script>
  AFRAME.registerComponent('auto-rotate', {
    // …
  });
</script>
Next, find the function that is called every frame in the component. In this function, update the rotation around the y-axis by accessing the element’s
three.js object3D directly.
Rotations in three.js are in radians
Now add a speed parameter (with a reasonable default value) to vary the
rotation speed.
Next, add three cubes of different colors to your scene and rotate them at
different speeds
Step 4 - first interaction
Briefly read the document on interaction and controllers

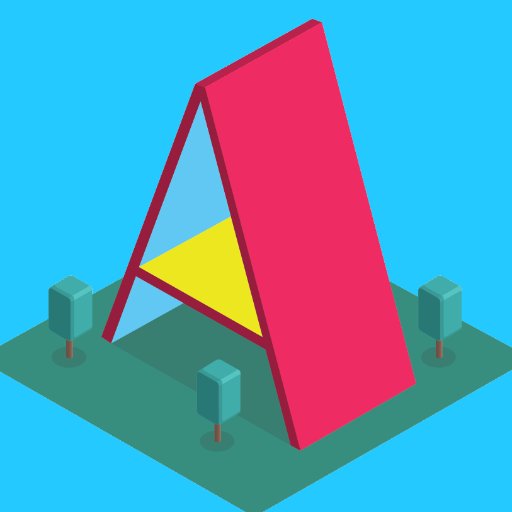
- Add controllers: joysticks or hands, depending on your device and preferences
- Check that your controls appear in the headset
- Code a component that allows one object to follow another object
- Create multiple objects (start with 5) that follow one another (like a train)
- Make the lead object follow one of your controls...
To make testing easier and avoid having to put on the headset too often during development, we’re going to add IWER:


THREE multiple imports without using importmap.
For this coding-dojo, I've extracted the version of the extension into a file available here: https://iwer-cfb9f1.gitlabpages.inria.fr/iwe.min.js ; in Krabbel.dev, you may need to open the preview as an external tab for emulator to work
This should always be imported before aframe, because when it initializes, it will check to see if the browser supports WebXR. However, IWER emulates WebXR support. It must therefore be declared beforehand so that Aframe recognizes that WebXR is present and can use IWER.
You can now see that instead of the fullscreen button in the bottom-right corner, your app now displays the VR button, even on desktop. When you click on it, the IWER emulation is activated, and you can then verify that your objects follow your input.
To prevent IWER from launching in your headset, you can wrap the code for creating the device and the DevUI in an if statement that checks whether xr is present in the browser.
Tips
- Adjust the size of your objects (for example, 2-cm cubes)
- While the Aframe hierarchy may seem simple at times, a lot is happening behind the scenes with Three.js underneath. For example, if you use your hands as controls (hand-tracking-controls), the entity itself does not change position. Aframe strongly encourages you to read the source code to better understand what is happening, for example:
- https://github.com/aframevr/aframe/blob/v1.7.0/src/components/hand-tracking-controls.js
- You can then see that certain positions are accessible as
this.wristObject3Dorthis.indexTipPosition; - Also remember that it is possible to access other components, such as
element.components[‘hand-tracking-controls’].wristObject3D
- Feel free to add default values to your component parameters…
- Do you use the same components in multiple entities? Take a look at Mixins: https://aframe.io/docs/1.7.0/core/mixins.html (similar to Unity prefabs)
Step 5 - go deeper with three.js
Aframe is build over threejs. As you may have seen in the previous step, to be able to build an aframe app, you will need to know more about threejs.
We will build a simple copy of Leap Motion Blocks to use more threejs through interaction.
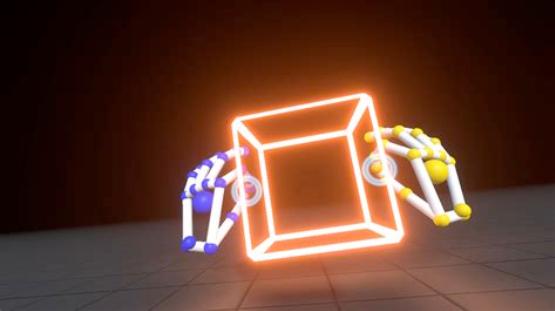
Create a copy of Leap Motion Blocks:
- The user can use their hands or controllers to create cubes when they pinch or
trigger both controls simultaneously. - The cube must be located between the controllers
- The cube’s size is determined by the distance between the controllers (hands or controllers).
- The cube must have a minimum size (e.g., 2.5 cm).
- The cube must be oriented along the y-axis based on the controllers’ position.
- The cube's opacity must be less than 1 during creation (while the user is pinching or holding down).
- Once the gesture is completed, the cube's opacity = 1
- Cube instances must be manipulable (grab)
- When the gesture is released, the cube must fall according to the physics (aframe-physics-system)
- The grab must be compatible with the physics
BONUS
- Destroy objects that are too far away (especially those that fall off the edge of the world)
- Two palms facing upward in front of the user to disable gravity; facing
downward to restore normal gravity - Add 3 buttons to the right of the left palm facing upward to select
other primitives - Add throwing capabilities (apply velocity/acceleration during a grab).
- Add physics manually (so that objects can be moved by pushing them)
- Add visual effects using shaders (for example, when creating the cube)
- Add subtle sounds (when pinching, when creating, during a collision)